Using dnsmasq as local DHCP and DNS server
Preface
Having many devices inside a local network can be cumbersome, when trying to reach a specific one, but not knowing the correct IP address for it. But there’s a nice solution for that called a local DNS1 server. DNS servers are the ones who know to what IP to go, when we enter www.google.com address in our browser, so having one in our LAN would be awesome. Here comes dnsmasq to the rescue.
dnsmasq
Dnsmasq2 provides network infrastructure for small networks, with services like DNS and DHCP3. It’s very lightweight and perfect for our Pogoplug E02 server.
Installation
It’s very simple on Arch Linux using pacman.
$ sudo pacman -Sy dnsmasqConfiguration
At first we need to enter hostnames into /etc/hosts file for dnsmasq to know what hostname goes with which IP address. Here’s an example where I entered tp-link (my router), pogo (Pogoplug E02) and asus (laptop). A good practice for deciding what to use for .localdomain part is that it’s not resolvable online, so there’s no issues when using with other services, it should only be resolveable in the local network. If you own a domain name, use a subdomain as in this example.
#
# /etc/hosts: static lookup table for host names
#

#<ip-address>	<hostname.domain.org>	<hostname>
127.0.0.1	localhost.localdomain	localhost
::1		localhost.localdomain	localhost

192.168.1.1	tplink.lan.tdkl.eu	tplink
192.168.1.2	pogo.lan.tdkl.eu	pogo
192.168.1.10	asus.lan.tdkl.eu	asus
# End of file
We also need to edit the DNS entries in the /etc/systemd/resolved.conf file for the external DNS servers. In this example, Google and OpenDNS servers are used.
#  This file is part of systemd.
#
#  systemd is free software; you can redistribute it and/or modify it
#  under the terms of the GNU Lesser General Public License as published by
#  the Free Software Foundation; either version 2.1 of the License, or
#  (at your option) any later version.
#
# See resolved.conf(5) for details

[Resolve]
DNS=8.8.8.8 208.67.222.222
Then we edit the file /etc/resolvconf.conf and enter 127.0.0.1 (localhost) address, since dnsmasq will operate as a local caching DNS server.
# Configuration for resolvconf(8)
# See resolvconf.conf(5) for details

resolv_conf=/etc/resolv.conf
# If you run a local name server, you should uncomment the below line and
# configure your subscribers configuration files below.
name_servers=127.0.0.1
In the initial ALARM installation we configured a static IP for the Pogoplug and also entered DNS servers there. Now we need to edit that again to change the DNS entry to 127.0.0.1. The configuration is in /etc/systemd/network/eth0.network.
[Match]
Name=eth0

[Network]
#DHCP=yes
DNS=127.0.0.1
Address=192.168.1.2/24
Gateway=192.168.1.1
Now we only need to edit the /etc/dnsmasq.conf configuration file, which includes all the configuration for desired services. An example is shown here, I’ve included the comments what everything means line by line.
# Configuration file for dnsmasq.
#
# Format is one option per line, legal options are the same
# as the long options legal on the command line. See
# "/usr/sbin/dnsmasq --help" or "man 8 dnsmasq" for details.

# Never forward plain names (without a dot or domain part)
domain-needed
# Never forward addresses in the non-routed address spaces.
bogus-priv

# Local domain used inside the local network, use something you own, or
# a domain that doesn't exist online
domain=lan.tdkl.eu

# Interface where dnsmasq will listen on, we need it on localhost(lo) and network(eth0)
interface=lo
interface=eth0

# IP pool range for our DHCP allocation and expiration time
dhcp-range=192.168.1.10,192.168.1.40,24h

# Setting up the TPlink router as a gateway
dhcp-option=3,192.168.1.1

# List of external DNS servers, our server (pogo) as primary, then others (OpenDNS)
dhcp-option=6,192.168.1.2,208.67.222.222

# Asus (laptop) ethernet, fixed IP & hostname
dhcp-host=11:11:11:11:11:11,192.168.1.10,asus

# Nexus5 fixed hostname
dhcp-host=22:22:22:22:22:22,nexus5
Using the dhcp-host line we can set specific rules for naming a device stating its MAC address. In examples above, I’ve set my asus laptop to always get the same IP address and hostname. Then below, I’ve similarly set a fixed hostname nexus5 to my phone. Since the device will be always reachable via that hostname, it doesn’t matter what IP address it has.
Note: I’ve masked the MAC addresses on purpose, since they’re uniquely identifiable.
For our Pogoplug E02 to server as a local DHCP server, we need to disable those services first on our existing router/modem. See the device instructions for that.
Now we start the dnsmasq service and enable it for starting automatically at boot.
$ sudo systemctl start dnsmasq
$ sudo systemctl enable dnsmasq
Testing
At first we can check the logs if the devices were properly identified using DHCP.
$ sudo journalctl -b | grep dnsmasq-dhcp
Aug 24 06:55:37 pogo dnsmasq-dhcp[1209]: DHCPREQUEST(eth0) 192.168.1.18 22:22:22:22:22:22
Aug 24 06:55:37 pogo dnsmasq-dhcp[1209]: DHCPACK(eth0) 192.168.1.18 22:22:22:22:22:22 nexus5
Aug 24 08:42:51 pogo dnsmasq-dhcp[22173]: DHCPDISCOVER(eth0) 11:11:11:11:11:11
Aug 24 08:42:51 pogo dnsmasq-dhcp[22173]: DHCPOFFER(eth0) 192.168.1.10 11:11:11:11:11:11
Aug 24 08:42:51 pogo dnsmasq-dhcp[22173]: DHCPREQUEST(eth0) 192.168.1.10 11:11:11:11:11:11
Aug 24 08:42:51 pogo dnsmasq-dhcp[22173]: DHCPACK(eth0) 192.168.1.10 11:11:11:11:11:11 asus
Now we try and reach devices amongst themselves in the network using their hostname. Here’s an example for the pinging the asus laptop from pogo.
$ sudo ping -c 4 asus.lan.tdkl.eu
PING asus.lan.tdkl.eu (192.168.1.10) 56(84) bytes of data.
64 bytes from asus.lan.tdkl.eu (192.168.1.10): icmp_seq=1 ttl=128 time=0.382 ms
64 bytes from asus.lan.tdkl.eu (192.168.1.10): icmp_seq=2 ttl=128 time=0.446 ms
64 bytes from asus.lan.tdkl.eu (192.168.1.10): icmp_seq=3 ttl=128 time=0.430 ms
64 bytes from asus.lan.tdkl.eu (192.168.1.10): icmp_seq=4 ttl=128 time=0.415 ms
We can also notice the asus got the correct IP as we’ve set it above.
Now let’s ping nexus5 phone from pogo.
$ sudo ping -c 4 nexus5.lan.tdkl.eu
PING nexus5.lan.tdkl.eu (192.168.1.18) 56(84) bytes of data.
64 bytes from nexus5.lan.tdkl.eu (192.168.1.18): icmp_seq=1 ttl=64 time=171 ms
64 bytes from nexus5.lan.tdkl.eu (192.168.1.18): icmp_seq=2 ttl=64 time=297 ms
64 bytes from nexus5.lan.tdkl.eu (192.168.1.18): icmp_seq=3 ttl=64 time=133 ms
64 bytes from nexus5.lan.tdkl.eu (192.168.1.18): icmp_seq=4 ttl=64 time=249 ms
Also the Nexus 5 phone is reachable per its name across all clients in the network. To test that, here’s the same ping command from the nexus5 phone to asus laptop.
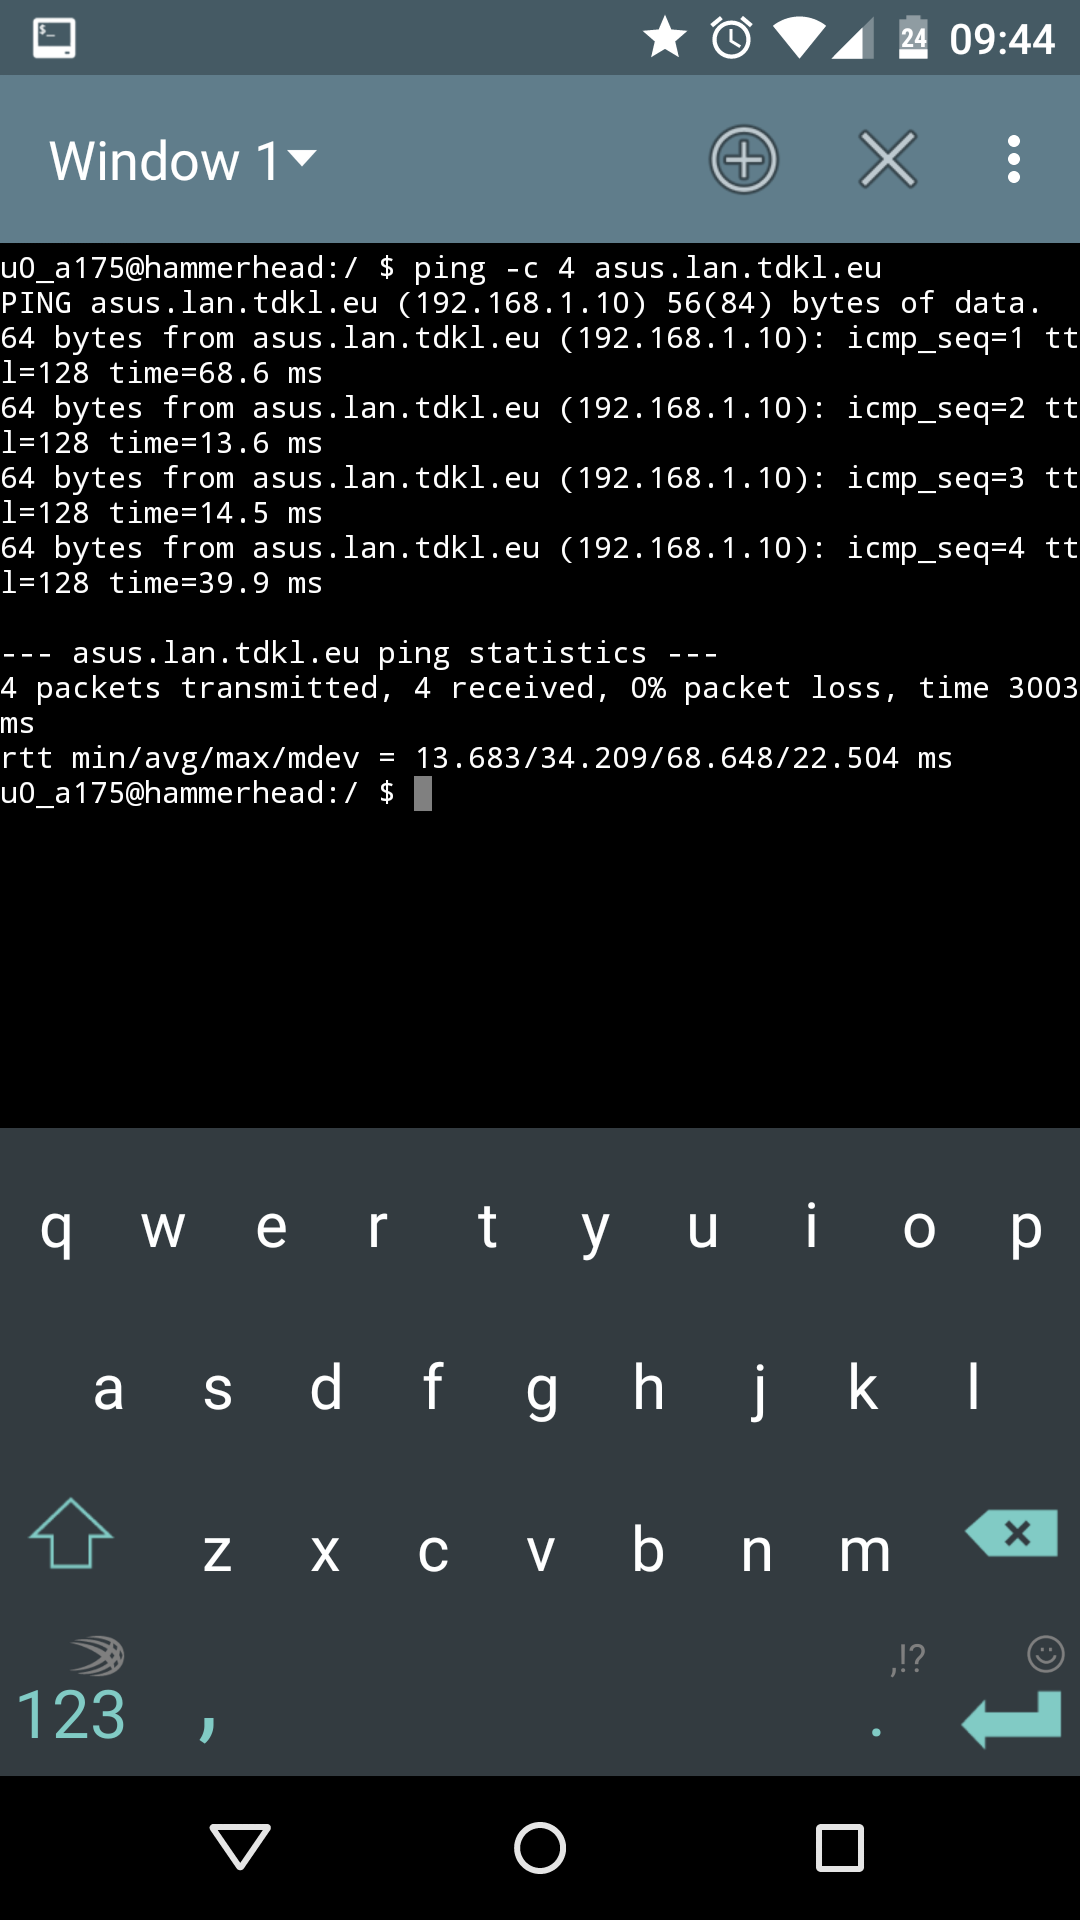
And vice versa.
C:\Windows\system32>ping nexus5.lan.tdkl.eu

Pinging nexus5.lan.tdkl.eu [192.168.1.18] with 32 bytes of data:
Reply from 192.168.1.18: bytes=32 time=85ms TTL=64
Reply from 192.168.1.18: bytes=32 time=90ms TTL=64
Reply from 192.168.1.18: bytes=32 time=302ms TTL=64
Reply from 192.168.1.18: bytes=32 time=122ms TTL=64
As per tests, DHCP and LAN clients name resolving work correctly.
Now let’s try with testing if the local caching DNS server works. We’ll use the dig tool. If you’re missing it, install it via pacman.
$ sudo pacman -Sy dnsutilsWith dig installed, we’ll query an address and compare the results between initial hit and cached result. At first we try with a non cached query.
$ dig www.google.com

; <<>> DiG 9.9.2-P2 <<>> www.google.com
;; global options: +cmd
;; Got answer:
;; ->>HEADER<<- opcode: QUERY, status: NOERROR, id: 64525
;; flags: qr rd ra; QUERY: 1, ANSWER: 6, AUTHORITY: 0, ADDITIONAL: 1

;; OPT PSEUDOSECTION:
; EDNS: version: 0, flags:; udp: 512
;; QUESTION SECTION:
;www.google.com.                        IN      A

;; ANSWER SECTION:
www.google.com.         235     IN      A       173.194.66.106
www.google.com.         235     IN      A       173.194.66.147
www.google.com.         235     IN      A       173.194.66.99
www.google.com.         235     IN      A       173.194.66.103
www.google.com.         235     IN      A       173.194.66.104
www.google.com.         235     IN      A       173.194.66.105

;; Query time: 10 msec
;; SERVER: 127.0.0.1#53(127.0.0.1)
;; WHEN: Tue Aug 24 09:31:45 2014
;; MSG SIZE  rcvd: 139
The address resolved properly with status: NO ERROR, query answer time was 10 miliseconds. Now if we repeat the query again, dnsmasq won’t query an external DNS server for the result, but use the cached result to return the answer much faster.
$ dig www.google.com

; <<>> DiG 9.9.2-P2 <<>> www.google.com
;; global options: +cmd
;; Got answer:
;; ->>HEADER<<- opcode: QUERY, status: NOERROR, id: 2027
;; flags: qr rd ra; QUERY: 1, ANSWER: 6, AUTHORITY: 0, ADDITIONAL: 1

;; OPT PSEUDOSECTION:
; EDNS: version: 0, flags:; udp: 4096
;; QUESTION SECTION:
;www.google.com.                        IN      A

;; ANSWER SECTION:
www.google.com.         232     IN      A       173.194.66.105
www.google.com.         232     IN      A       173.194.66.104
www.google.com.         232     IN      A       173.194.66.103
www.google.com.         232     IN      A       173.194.66.99
www.google.com.         232     IN      A       173.194.66.147
www.google.com.         232     IN      A       173.194.66.106

;; Query time: 3 msec
;; SERVER: 127.0.0.1#53(127.0.0.1)
;; WHEN: Tue Aug 24 09:31:48 2014
;; MSG SIZE  rcvd: 139
In the repeated query, the time for answer was 3 miliseconds, which is quite a speed up and demonstrates the benefits of a local caching DNS server.